background

Thursday, December 29, 2011

Decorating the Mantel After the Holiday

This is the time to take down the beautiful Christmas decorations and put them away till next year. I usually just go ahead and put the same thing up. This time I really wanted a change!

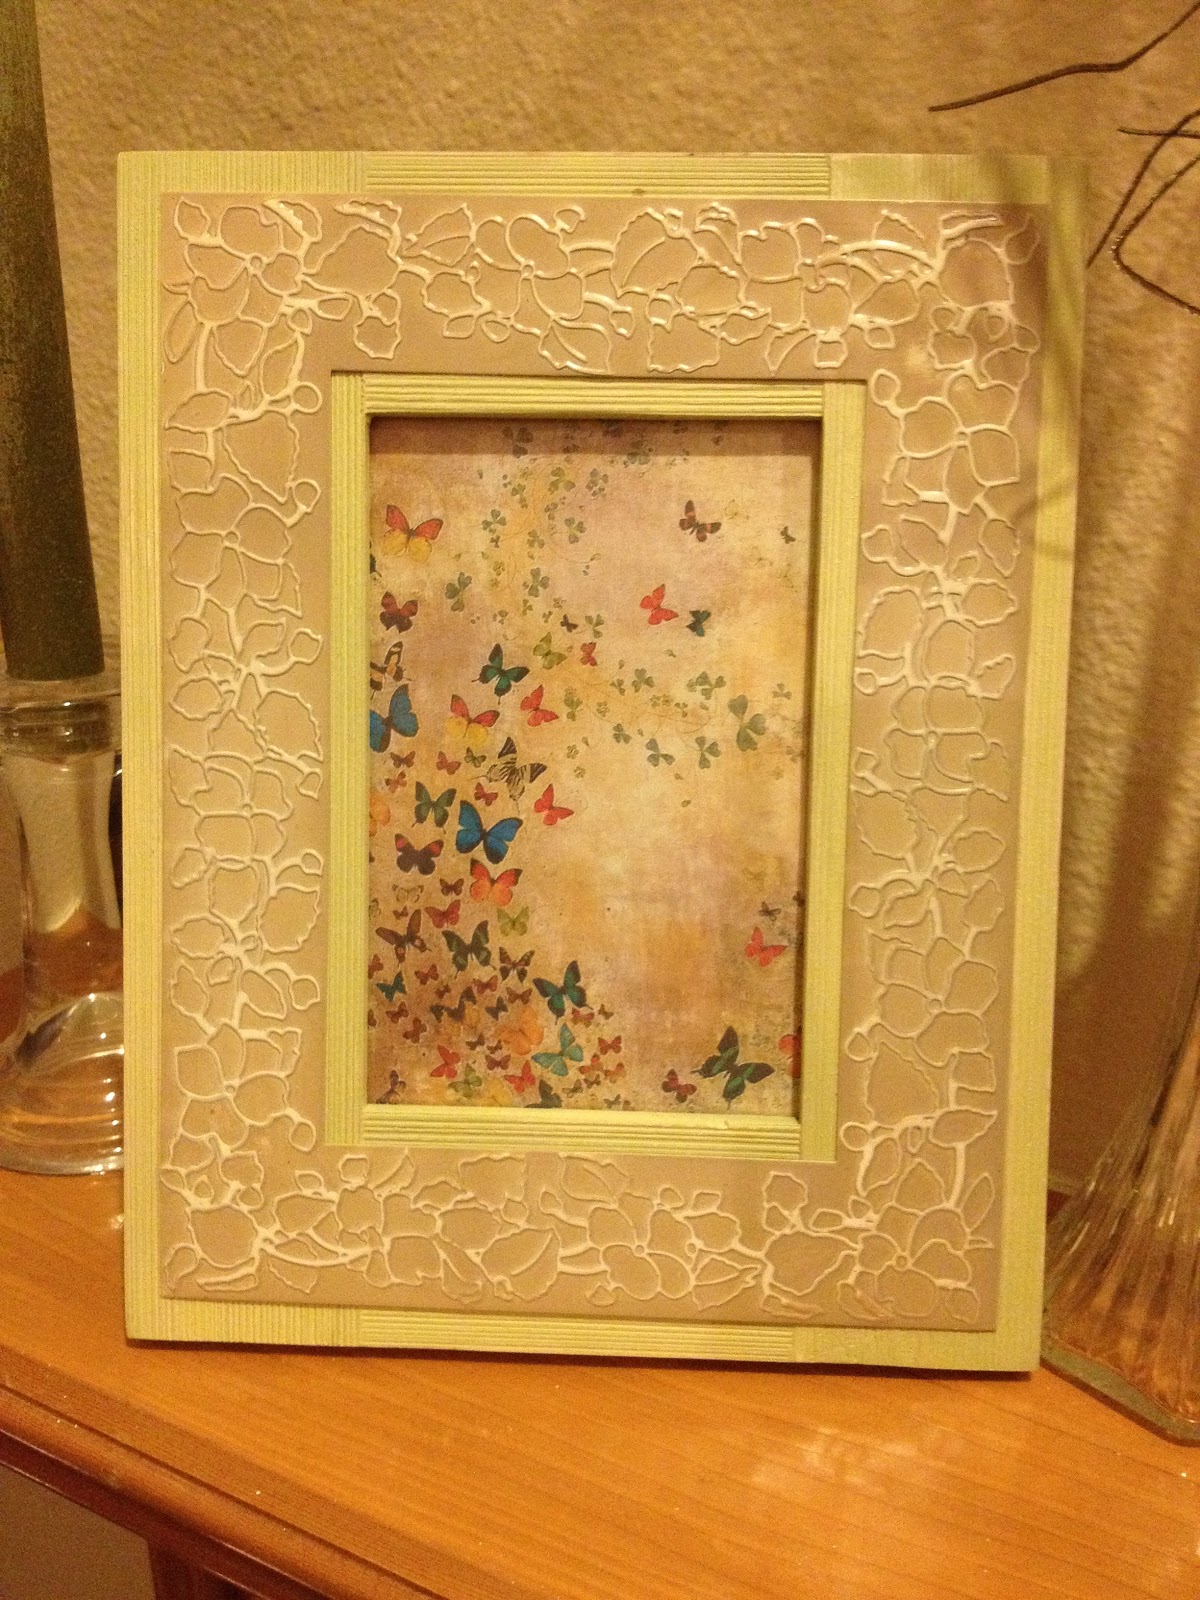
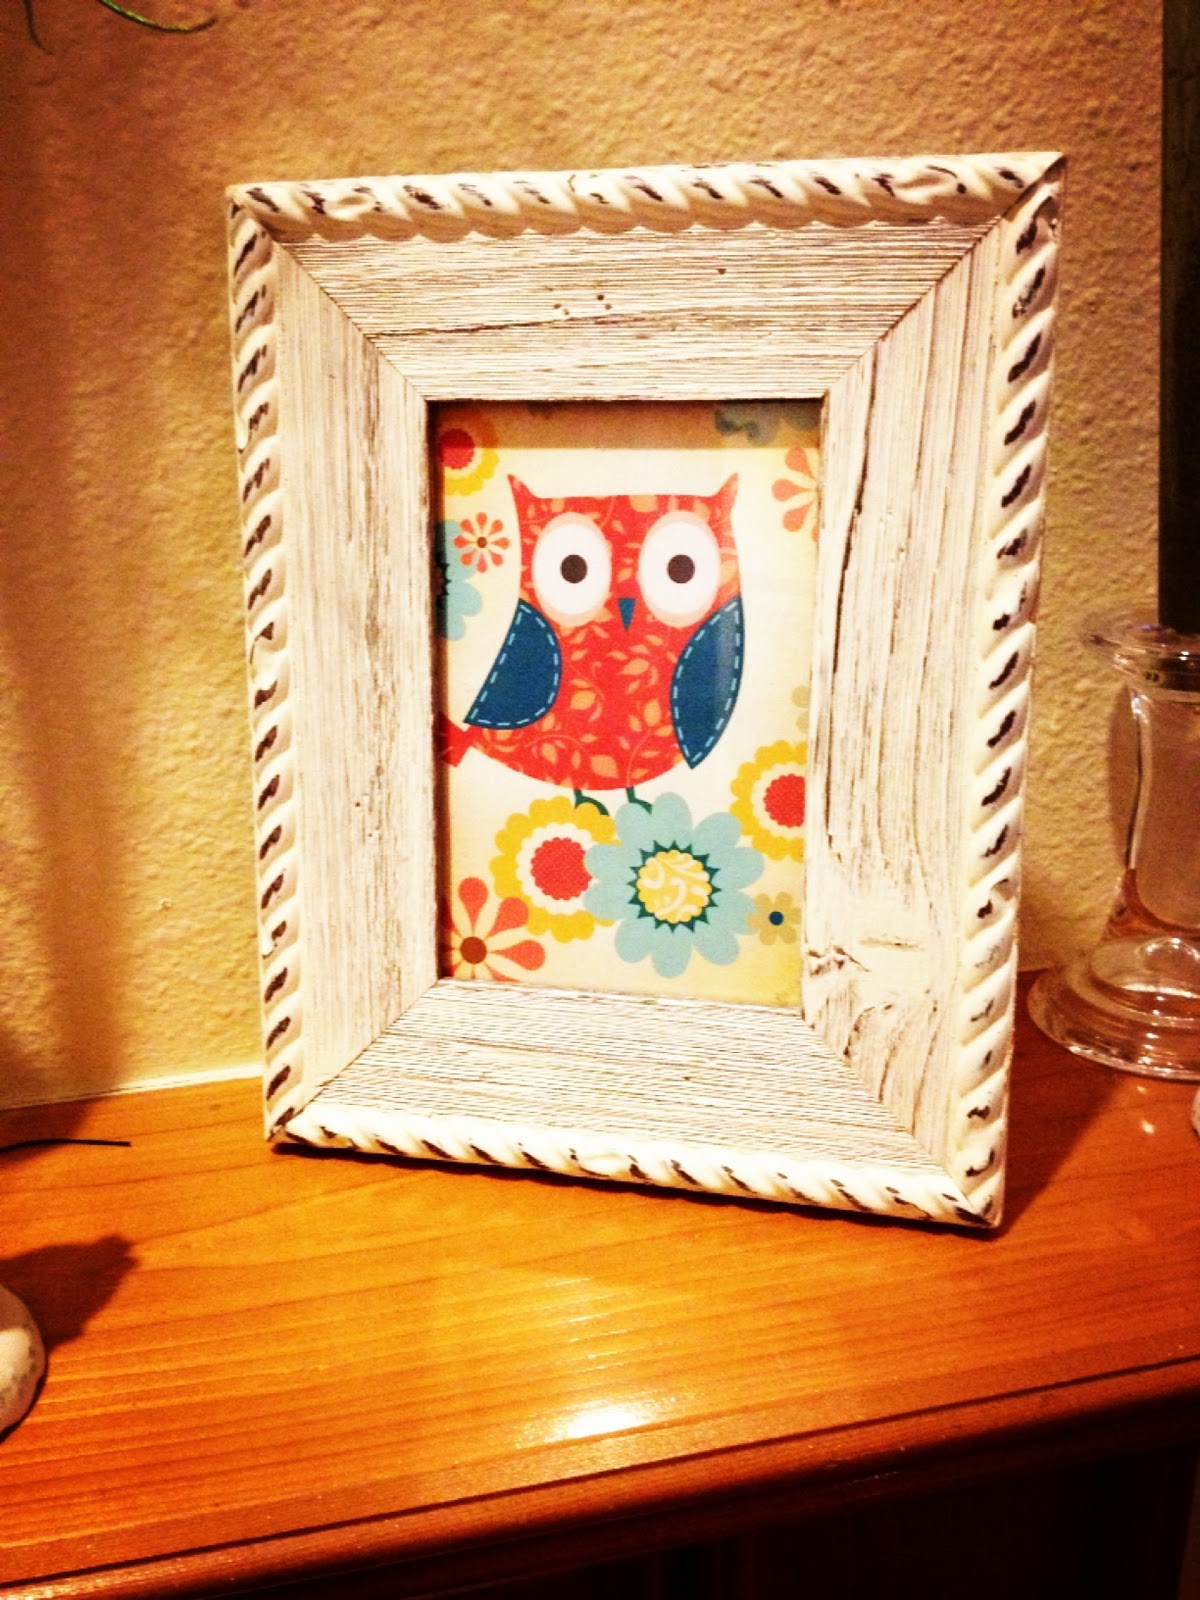
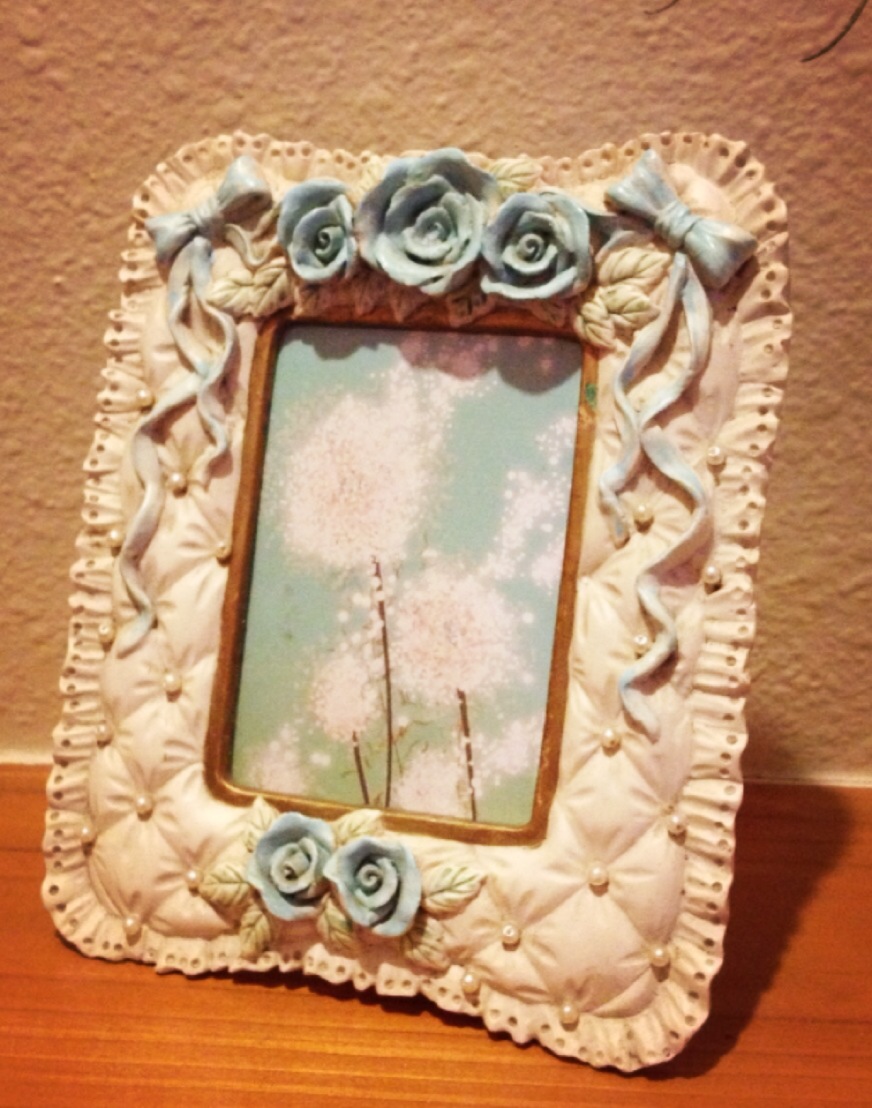
I happen to be a frame collector. Wherever I am, if there is a frame and it is on clearance or at the thrift store and it is cute, then it has my name on it! Last night I decided to look up cute picture online. I printed them and cut them down to fit each frame. They surprisingly turned out nice.

My Mom and Grandma have collected these lovely angles that you see above in the picture of the mantel. And my husband and I have collected Precious Moments ceramic figurines for my daughter every year right before her birthday (which I need to get on that 4th ceramic).

I have had the peacock feathers for a very long time and just kept finding myself sticking them somewhere out of the way. So I decided to make them a part of the centerpiece on the mantel. It is a win-win because I was getting bored of the old candle holders that were on the wall on both sides of the clock.

Anyway, this is my NEW and FRESH looking mantel! I am enjoying it!

Ring and Ear Ring Holder

It has been a while since I have done a crafty little project. I kept finding my ear rings all over my bedroom and bathroom, so I decided to do something about it. 

I went to the local Goodwill and found some tea cups and saucers. Of course they aren't any matched sets that I found or even wanted. The more mismatched the better!

I took them home and washed them all up to make them look new again. I then went to town with my glue gun. I now have a beautiful, and girly jewelry holder. YAY

Monday, December 12, 2011

Dollar Store Decorating

I was in a pinch and was not willing to spend a lot of money so I went to the local Dollar store. I found large candy canes, fake poinsettias, 3 little Christmas tree decorations, some garland, 2 vases, and 2 candle stick holders.

I turned the vases upside down, and hot glued the candle stick holders to the bottom of the vase. I then stuck the candy canes in for decoration. I took apart the poinsettias and set them throughout the garland to cover the mantle.

*Note: The snowmen and the stocking holders were not from the dollar store. 

Monday, November 14, 2011

Yummy Goodness

I don't even know what to call these. Someone showed me how to do these a while ago and they have stuck with me over the holidays ever since.

The pictures pretty much go without saying a whole lot on how to make these scrumptious deserts.

All you have to do is melt the chocolate on LOW for 10 min. While you are doing that, you smear peanut butter between to Ritz crackers. Dip them in the chocolate after 10 minutes and set them on wax paper. Voila! THAT'S IT!


Silhouette

Here's what you will need:
Camera
Printer
Scissors
A piece of wood
Satin Mod Podge
Glue
Paint of any color
A piece of scrapbook paper


First I took a few pictures of my daughter and decided what would look the best for the silhouette. I then printed it to fit the paper.

I then cut the picture out and traced it on black paper.


Cut out the black paper.


At this point there are endless options. You can mat it on a piece of scrapbook paper, then frame it. Or you can frame it as is. I went to the local craft store and picked up a do-it-yourself wood clock. That looked like the best choice. I took it home and painted the edge of it.


I traced the scrapbook paper with the wood. I then painted the edge black (my personal preference).


I painted the whole piece of wood with Mod Podge, including the painted black edge. Then I stuck the scrapbook paper on top of the wood and Mod Podged the paper. I then stuck the silhouette right on top of the scrapbook paper and Mod Podged that as well.


It will eventually dry clear. I picked the satin Mod Podge because it is the middle of shiny and mat.


I have decided to make these as Christmas presents for the Grandparents. I think they will like it. Win-Win! Something inexpensive and not at all time consuming to make and something that the Grandparents will keep on there wall for years to come. 

Another thing. I have not done so yet with this silhouette, but you can hang it many ways.You can buy a piece of ribbon, tie it in a bow and attach it to the wood in the back. You can also use a pull tab from a pop can. 


Again, the possibilities are endless. This is your project. Make it yours!

Friday, November 4, 2011

Jewelry Frame

Things you will need:
Picture frame
Sand paper
Chicken wire
Wire cuters
Staple gun
Spray paint 
Mini hangers

I made this a while ago. I just thought this would be a great first tutorial. I went to Goodwill and picked up this hideous picture and frame for $5.00.


I took the picture out of the frame, then I started sanding the frame itself.


 I had to spray a couple coats till I thought it looked right. 


You then fit the wire to the frame and cut the chicken wire. Then start stapling away!


Hang your mini hangers that you can get from Lowes or any hardware store onto the chicken wire. Then start hanging all your jewelry up. It is so easy to keep your necklaces and earrings organized and in one place!


Thursday, November 3, 2011

My First Post

Here I am. I didn't think I would EVER do a blog. I really would like to at least keep up with this once or twice a week. We will see. No promises!

I am a pretty frugal person. So I am here to show you how to be as well. To decorate your house from the Dollar Store,or your backyard, and make it look like you got it from Pier One or whatever fancy place it looks like you got it from. 
Branches from the backyard. Expired coffee beans in a vase and 2 mason jars with candles in them.
Felt Flowers I made tonight. I will start breaking it down in my next post on how to make these. They are super easy and super fun!